Download the apple wallet script from here https://github.com/teamcornett/keeneland-vip/archive/refs/heads/main.zip (or clone from the repo above)
Open newvips.csv in your code editor and add the users name followed by a comma and then their ticket code on a new line. Do not place a space between the commas. Each user needs to be on its own line. Do not replace the header. For example if you were adding Jane Doe with a ticket code of 12345 and John Smith with a ticket code of 54321 the newvips.csv should look exactly like this:
field_name_on_card,field_code
Jane Doe,12345
John Smith,54321
You can also export the CSV from the production server: https://september.keeneland.com/wallet-csv. Note that you will have to change the "Date Created filter on the view that exports that CSV or delete all VIPS from previous years.
3. Edit passGen.py and change the following information (save when done):
“relevantDate” - expiration date - should be the last day of the sale
Date formats should be in the following format: YYYY-MM-DDTHH:MM:SS-05:00
Month, day, and hour values should NOT contain leading zeros
any other fields can be updated as desired/necessary, e.g. day/time doors open, etc
4 (optional). To change the image displayed in the apple pass banner, navigate to the directory 12345.pass;replace the strip.png file in here with an appropriately sized image, ideally <400kb. Larger images may cause slowdowns when migrating pkpass files
5. In terminal within the same folder as passGen.py run the command
python passGen.py
This should generate passes in the passes folder. pkpass files will be generated named after their ticket codes. It will also generate .pass folders. Those can be deleted.
6. Via ftp/rsync place the new .pkpass files in the public_html/modules/custom/ke_vip/vips folder. Only .pkass files need to be migrated. Below are some shell commands to remove unnecessary files and push the pkpass files to the November site (edit accordingly for September).
#from same folder as passGen.py
rm -r passes/*/
rsync -azh ./passes novmare@november.keeneland.com:/home2/novmare/public_html/modules/custom/ke_vip
#september version:
rsync -azh ./passes keeseptember@september.keeneland.com:/home2/keeseptember/public_html/modules/custom/ke_vip

#alternatively, archive the files and rsync a single file instead of each file individually
rm -r passes/*/
tar -cvzf passes.tgz passes
rsync -azh ./passes.tgz novmare@november.keeneland.com:/home2/novmare/public_html/modules/custom/ke_vip
Login to https://mc.exacttarget.com/ with cornett-ims as the username. Password is in lastpass
Importing List of VIPs
Click ‘Email Studio’ in the top bar.
Click ‘Create List’
Give it a name and location.
Click the ‘Lists’ tab in the overview section under ‘Recent Items’
Click ‘import’ and upload your csv file (Please note: CSV file must have a Key field that is matching “Ticket Code field.” If field is not visible open csv file and create a new field called “Key” then copy and paste Ticket Code fields and paste to Key field. Save and import.
Choose CSV for data format and ‘Add new subscribers and update subscribers that already exist’ under update options. Below is an example import file. Below is the file containing the current list (Note some VIPs may need to be removed so do not use this file directly until it has been edited
(I created this list by copying the preview content of this view https://september.keeneland.com/admin/structure/views/view/vips and using a json to csv converter https://www.convertcsv.com/json-to-csv.htm )
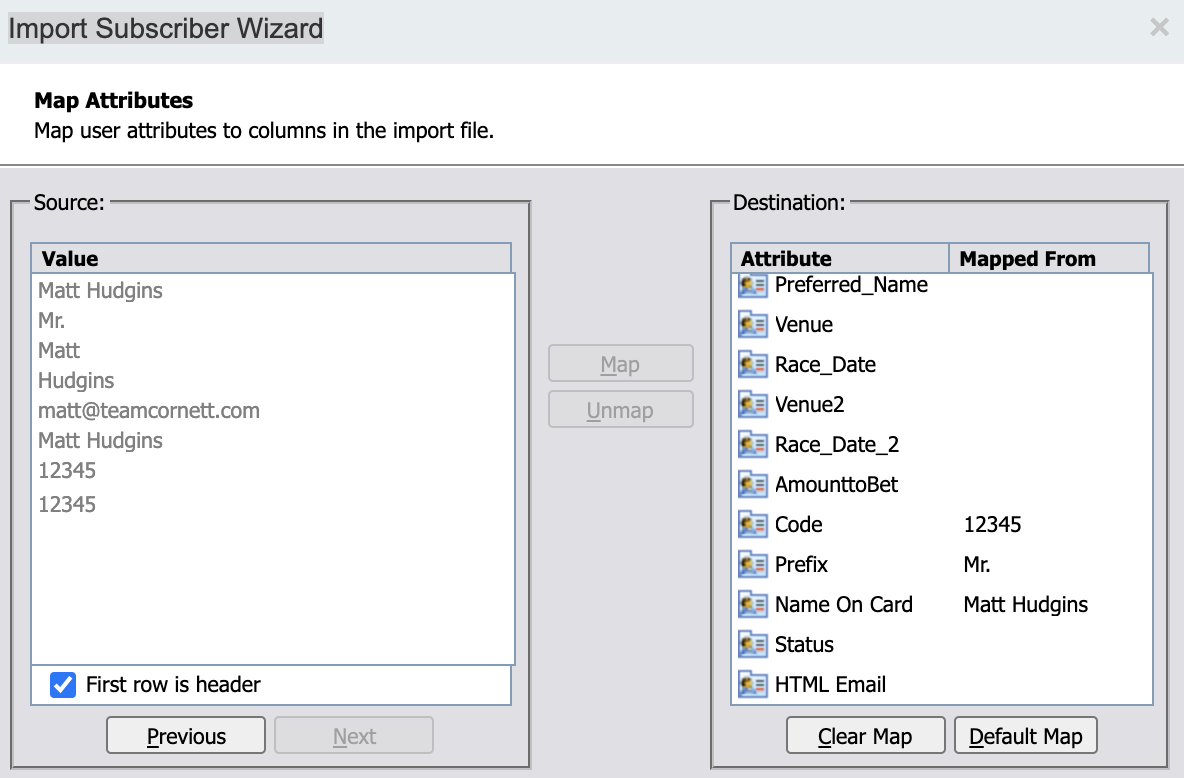
7. Make sure ‘First row is header’ is checked and click ‘Next’
8. On the right hand side select the field that field you wish to map, (i.e. Email Address), then on the left hand side click the value that it matches with (i.e. matt@teamcornett.com) then click ‘Map’. Make sure the Ticket Code is mapped to ‘Code’
note: I also used the ticket code as the subscriber key since salesforce requires each user to have a unique id and that seemed to be the most convenient at the time
9. Do this until each value on the left side is accounted for then click ‘Next’
10. On the confirm mappings page click ‘Begin’
Editing and Sending Email
In the Content Builder section of the email section find the email that contains the ticket for VIPs. If there isn't already one you should be able to duplicate one that already exists from here https://mc.exacttarget.com/cloud/#app/Email/C12/Default.aspx?entityType=none&entityID=0&ks=ks%23Content The latest one of this writing is called ‘September Sale - Equestrian Room Email - 2021’ and it exists inside the ‘Sales 2021’ folder
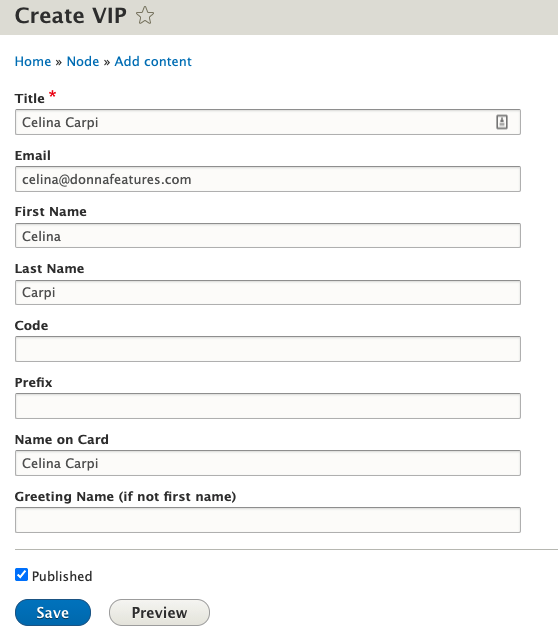
The fields available to you are the following %%First Name%% %%Last Name%% %%fullname%% %%emailaddr%% %%Name On Card%% %%Code%% and more, but those should be the only relevant ones.
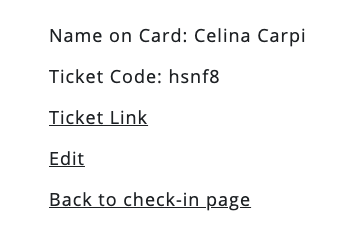
The view ticket link should be formatted like this september.keeneland.com/ticket/%%code%% and the ‘Equestrian Room Details’ link should be formatted like this september.keeneland.com/experience-guide?n=%%First Name%%&code=%%Code%%
Click send and follow the instructions to define the recipient list.